Getting Started with Confanum: A Platform Walkthrough for New Organizers
Last updated: April 2026. This article is for informational purposes only. Statistics and third-party features referenced may have changed since publication. Terms apply.
You have been running your event with a patchwork of spreadsheets, Google Forms, email threads, a separate ticketing service, a different tool for volunteer scheduling, and maybe a shared Dropbox folder that nobody can find anything in. It works -- barely -- but every year you lose hours to manual data entry, missed emails, and the creeping dread that something important is falling through the cracks.
Confanum replaces all of that. It is a single platform that handles your schedule, guests, vendors, volunteers, ticketing, reserved seating, mobile app, marketing, analytics, and on-site operations. This walkthrough will take you from first login to launch-ready, step by step.
1. Creating Your Organization and First Event
When you sign up for Confanum, the first thing you will do is create your organization. Think of the organization as the parent entity -- your convention company, your arts council, your festival production group. It is the container that holds everything.
During setup, you will provide:
- Organization name -- this appears in internal admin screens and any correspondence generated by the platform
- Primary contact information -- the main email and phone number for your organization
- Logo and branding assets -- your logo, brand colors, and any other visual identity elements
Once your organization exists, you will create your first event. An event in Confanum is a specific occurrence -- "MegaCon 2026" or "Riverside Arts Festival - Fall Edition." Each event has its own schedule, guest list, vendor roster, volunteer shifts, ticket types, and mobile app content. This separation is intentional and powerful, which brings us to the next concept.
Setting your event basics
For each event, you will fill in the foundational details: event name, dates, venue name and address, time zone, and a short description. You will also upload a hero image and event logo that appear in the mobile app and on any public-facing pages. Take a few minutes to get these right -- they set the tone for everything your attendees see.
You can also configure event-level settings at this stage: whether the event is public or private, whether you want to enable specific modules (vendor applications, volunteer sign-ups, panel submissions), and your default currency. Do not worry about getting every setting perfect now. You can change all of this later.
2. Understanding the Multi-Tenant Model
This is one of the most important concepts for new organizers to understand, and it is also one of the biggest advantages Confanum offers over simpler tools.
Confanum is multi-tenant by design. Your single organization account can manage multiple events, and each event is completely isolated from the others. Your "Summer Comic Con" and your "Winter Holiday Market" share the same admin login and the same team, but their data -- attendees, vendors, schedules, revenue -- are entirely separate.
Why does this matter?
- No starting from scratch. When you create next year's edition of your event, you can clone the previous year's data -- schedule structure, vendor categories, volunteer roles, FAQ content -- and modify it rather than rebuilding from nothing.
- Cross-event analytics. Confanum's multi-year analytics let you compare attendance, revenue, session popularity, and other metrics across events. You can see trends over time rather than looking at each year in isolation.
- One team, many events. Your staff members maintain their login credentials and permissions across all events in your organization. When you spin up a new event, your team is already there.
- Tenant isolation for security. Even though multiple events live on the same platform, each event's data is strictly siloed. A team member with access to Event A cannot accidentally (or intentionally) access Event B's data unless you explicitly grant them permission.
If you are coming from a world of separate spreadsheets for each year's event, this model will feel like a revelation. If you have been using a ticketing provider that treats each event as a standalone project with no continuity, you will immediately appreciate the difference.
3. Navigating the Admin Dashboard
The Confanum admin dashboard is where you will spend most of your time. It is organized into logical sections, each accessible from the left-hand navigation. Here is a quick tour of what you will find.
Overview
Your landing page after login. This shows at-a-glance metrics for your currently selected event: ticket sales, revenue, attendee count, upcoming schedule items, and any alerts or action items that need your attention. Think of it as your daily briefing.
Content
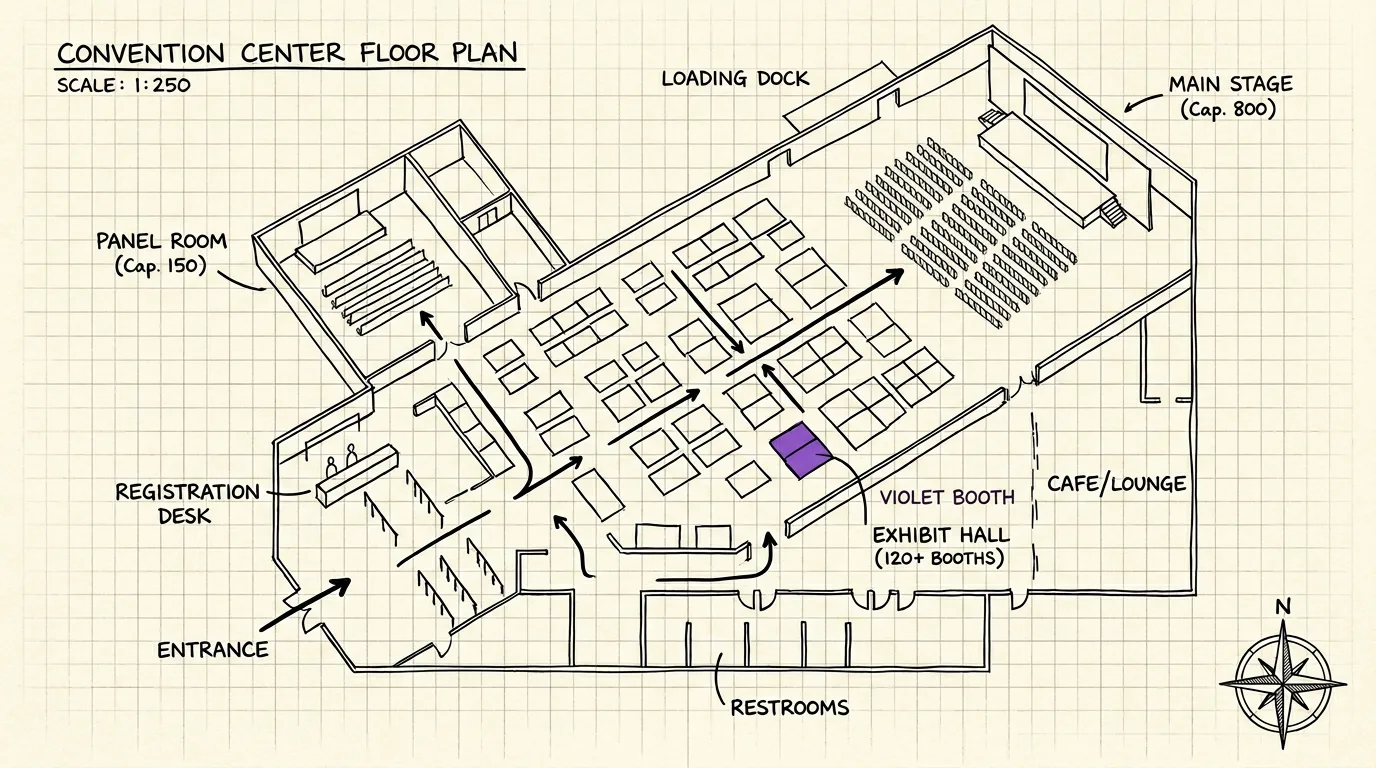
This is where you manage everything your attendees will see. The Schedule section lets you build your programming grid -- panels, workshops, performances, ceremonies -- with start/end times, room assignments, descriptions, and linked guests. The Guests section houses your speaker and performer profiles with bios, photos, social links, and appearance schedules. Pages lets you create custom informational content (venue directions, accessibility information, house rules) that appears in the mobile app. The FAQ builder creates a searchable knowledge base. And Maps lets you upload venue floor plans with interactive points of interest.
People
This section covers everyone involved in your event. Attendees gives you a searchable, filterable database of everyone who has purchased a ticket or registered. Volunteers handles applications, approval workflows, shift scheduling, and day-of QR check-in. Vendors manages booth applications, assignments, payments, and communication. And Panel Submissions lets outside speakers propose sessions through a public form, which you can review and approve directly into your schedule.
Ticketing
Everything related to selling and managing tickets lives here. You will create ticket types, set pricing (including early-bird and sale pricing), configure promo codes, manage orders, process refunds, and -- if your event uses assigned seating -- design and manage your seat maps with the visual seat map editor.
Operations
Day-of tools. Badge Designer lets you create and print custom badges for attendees, vendors, and staff. Session Check-In tracks attendance at individual panels and workshops. Lead Retrieval gives exhibitors a way to scan attendee badges and capture contact information. These tools turn your phone or tablet into a command center on event day.
Marketing
Email sequences, audience segmentation, automation triggers, and sponsor management. You can build targeted email campaigns based on ticket type, purchase date, or attendee behavior, and set up automated sequences (confirmation emails, pre-event reminders, post-event surveys) that run without manual intervention.
Analytics
Detailed reporting on ticket sales, revenue trends, session attendance, app engagement, and more. The multi-year comparison view is particularly valuable for returning events -- overlay this year's sales curve against last year's to spot trends and inform decisions.
Company Settings
Organization-level configuration: team management, role assignments, payment provider connections, branding, and integrations. This is also where you manage your mobile app settings.
4. Importing Your Existing Data
You are not starting from zero. You have attendee lists from previous years, vendor contact databases, schedule drafts in spreadsheets, and guest information scattered across various documents. Confanum is designed to ingest all of this.
Attendee and contact imports
Prepare a CSV file with your attendee data. At minimum, you need columns for first name, last name, and email address. Confanum's import tool will map your CSV columns to its internal fields, and you can preview the mapping before committing. If your spreadsheet has additional fields -- phone number, ticket type, purchase date, VIP status -- map those as well. The importer handles duplicates intelligently: if an email address already exists in the system, it will update the existing record rather than creating a duplicate.
Vendor contacts
The same CSV import process works for vendors. Include business name, contact name, email, phone, product category, and any notes about booth preferences or past assignments. Once imported, these vendors appear in your vendor management section and can receive automated communications through the platform.
Schedule items
If you have a schedule built in a spreadsheet, you can import it directly. Structure your CSV with columns for session title, description, start time, end time, room/location, and optionally the names of associated guests or speakers. Confanum will create the schedule entries and, where it can match guest names to existing guest profiles, automatically link them.
Event cloning
If this is not your first event on the platform, cloning is even faster than importing. Select a previous event and choose which elements to clone: schedule structure, guest profiles, FAQ entries, custom pages, vendor categories, volunteer roles, maps, or all of the above. The cloned data becomes a starting point for the new event -- you edit and update rather than rebuilding. Cloning includes cross-tenant protections, so you cannot accidentally clone data from another organization's event.
A practical tip: do not try to import everything at once. Start with your schedule and guest list, since those are the most visible elements. Add vendor and attendee data as you finalize those areas. Incremental imports are much easier to verify and troubleshoot than one massive upload.
5. Setting Up Your Team with Role-Based Permissions
You are not running this event alone. You have a volunteer coordinator, a programming director, a marketing lead, someone handling vendor relations, and probably a few other key people. Each of them needs access to the parts of the platform relevant to their role -- and only those parts.
Confanum's permission system is built around this reality. Every team member gets a role that determines exactly what they can see and do in the admin dashboard.
Built-in role presets
For most teams, the pre-built role presets will cover your needs:
- Full Admin -- unrestricted access to everything. Reserve this for yourself and one or two trusted co-organizers.
- Volunteer Coordinator -- full access to volunteer management (applications, approvals, shift scheduling, check-in) plus the overview dashboard. No access to financials or company settings.
- Programming -- access to schedule, guests, panel submissions, and content management. Cannot see ticketing revenue or marketing tools.
- Marketing -- access to email campaigns, audience segmentation, sponsor management, and analytics. Cannot modify the schedule or manage vendors.
- Vendor Manager -- access to vendor applications, booth assignments, and vendor communications. Cannot see attendee data or ticketing details.
- Operations -- access to day-of tools: badge printing, session check-in, lead retrieval, and maps. Read-only access to the schedule.
- Ticketing -- access to ticket management, orders, refunds, promo codes, and seating. Cannot modify programming content.
- Content Editor -- access to pages, FAQ, maps, and schedule content. Cannot manage people or financial data.
Custom roles
If the presets do not fit your team structure, you can create custom roles by selecting exactly which permission areas a role should include. The available permission areas are: overview, content, people, ticketing, operations, marketing, analytics, portfolio, commerce, company settings, and support. Mix and match to create a role that fits your specific needs.
Privilege escalation prevention
An important security detail: team members can only grant permissions that they themselves hold. A Volunteer Coordinator cannot promote someone to Full Admin, and a Marketing lead cannot grant ticketing access. This prevents accidental (or intentional) privilege escalation and keeps your access controls tight.
Invite team members by email address. They will receive an invitation link, create their account (or link an existing one), and immediately see only the sections their role allows. No training needed on "which spreadsheet tab to ignore" -- the platform simply does not show them what they should not see.
6. Connecting Your Payment Provider
Before you can sell tickets, you need to connect a payment provider. Confanum supports three major processors: Stripe, Square, and PayPal. You can connect one, two, or all three -- offering multiple payment options reduces checkout abandonment.
Stripe
The most popular choice for event organizers. Stripe handles credit and debit cards, Apple Pay, Google Pay, and a growing list of alternative payment methods. To connect Stripe, navigate to Company Settings, select Payment Providers, and click Connect Stripe. You will be redirected to Stripe's OAuth flow where you authorize Confanum to process payments on your behalf. If you already have a Stripe account, the connection takes about 60 seconds. If you need to create one, Stripe's onboarding will walk you through identity verification and bank account linking.
Square
A strong option if you already use Square for in-person sales (many vendor halls use Square terminals). Connecting Square follows the same OAuth pattern. One advantage of Square: if your vendors also use Square, you can explore unified reporting across your ticket sales and vendor transactions.
PayPal
Some attendees strongly prefer PayPal, especially international buyers who may not have a US credit card. PayPal connection requires your PayPal Business account credentials. Once connected, PayPal appears as a payment option alongside card payments at checkout.
Security note
Confanum never stores your payment credentials in plain text. All provider API keys and tokens are encrypted with AES-256-CBC encryption and masked in the admin interface. Your financial data is protected at every layer.
After connecting your provider, run a test transaction. Create a $1 test ticket, purchase it yourself, then refund it. This 90-second exercise confirms that the entire payment flow -- purchase, confirmation email, order record, refund processing -- works correctly before you go live with real customers.
7. Configuring Your White-Label Mobile App
This is where Confanum diverges sharply from most event platforms. Rather than directing attendees to a generic "event finder" app where your convention is one listing among thousands, Confanum provides a white-label mobile app that is entirely yours. Your branding, your colors, your icon on the attendee's home screen.
App branding
In the mobile app configuration section, you will upload:
- App icon -- the icon that appears on the attendee's phone. This should be your event logo, optimized for small sizes (1024x1024 is the standard submission size; the system generates all required smaller sizes automatically).
- Splash screen -- the loading screen attendees see when they open the app. Keep it simple: logo on a branded background.
- Primary and accent colors -- these propagate throughout the app interface. Headers, buttons, navigation elements, and highlights all use your brand palette.
- App name -- what appears beneath the icon on the home screen. Typically your event name or an abbreviation.
Content configuration
The mobile app pulls its content directly from your admin dashboard. When you update the schedule, add a guest, change a room assignment, or post an announcement, the app reflects those changes in near-real-time. There is no separate content management system for the app -- it is the same data, presented in a mobile-optimized format.
The app includes:
- Full event schedule with filtering by day, track, room, and favorited sessions
- Guest profiles with bios, photos, and linked schedule appearances
- Interactive venue maps that attendees can zoom, pan, and search
- Push notifications for schedule changes, announcements, and emergency alerts
- Personal schedule builder so attendees can bookmark sessions and get reminders
- Vendor directory with booth locations and descriptions
- Live engagement features -- polling, Q&A moderation, and gamification (scavenger hunts)
- In-app ticketing -- attendees can purchase tickets and add-ons without leaving the app
Multi-event support
If your organization runs multiple events, the app handles that gracefully. Attendees see an event selector and can switch between your events without installing separate apps. For organizations that run a summer convention and a winter market, this means one app install serves both events -- and your brand stays on the attendee's phone year-round.
Populate your app content at least two weeks before the event. Attendees will download the app early to plan their weekend, and an empty app creates a poor first impression. But keep the ability to make real-time updates through event day -- room changes, cancellations, and surprise additions are inevitable.
8. Going Live: Your Pre-Launch Checklist
You have set up your organization, created your event, imported your data, assembled your team, connected payments, and configured your app. Before you announce ticket sales and direct attendees to download the app, run through this pre-launch checklist.
Content completeness
- Event name, dates, venue, and description are accurate
- Event logo and hero image are uploaded and display correctly
- At least a preliminary schedule is published (even if you mark sessions as "TBA," having the time grid visible lets attendees see the scope of your programming)
- Guest profiles are complete with photos and bios
- Venue maps are uploaded with labeled points of interest
- FAQ section has answers to the most common questions (parking, accessibility, refund policy, age restrictions, cosplay weapons policy)
Ticketing readiness
- All ticket types are created with correct pricing
- Early-bird or sale pricing dates are configured (and you have tested that the automatic price change triggers correctly)
- Promo codes are set up and tested
- At least one payment provider is connected and a test transaction has succeeded
- Confirmation email template has been reviewed -- check that it includes the event name, date, QR code, and any practical instructions
- Refund policy is documented and your team knows the process
Team readiness
- All key team members have been invited and can log in
- Role assignments are correct -- each person sees only what they need
- At least one other person besides you has Full Admin access (the "bus factor" -- if you are unavailable, someone else can operate the platform)
- Your team knows how to use their respective sections (Confanum is intuitive, but 15 minutes of walkthrough saves hours of support questions)
Mobile app readiness
- App branding (icon, splash screen, colors) is configured
- Content is appearing correctly in the app (download it yourself and walk through every section)
- Push notifications are configured and you have tested sending one
- In-app ticketing is enabled if you want attendees to purchase through the app
Operational readiness
- Volunteer applications are open (or scheduled to open) if you are using the volunteer module
- Vendor applications are open (or closed with assignments finalized) if you have a vendor hall
- Panel submission form is configured if you are accepting outside programming proposals
- Badge design is finalized and you have printed a test badge to confirm formatting
The soft launch
Before your big public announcement, do a soft launch with a small group -- your core team, a few trusted volunteers, perhaps some returning vendors. Ask them to go through the full flow: find the event, browse the schedule, purchase a test ticket, download the app, check in. Fresh eyes will catch things you have gone blind to after weeks of configuration. Fix any issues they surface, then go live with confidence.
From Scattered Tools to One Platform
The transition from spreadsheets and disconnected tools to an integrated platform is not just about convenience (though the convenience is substantial). It is about having a single source of truth for your entire event.
When your volunteer coordinator checks the shift schedule, they see the same data your operations lead sees. When a vendor updates their profile, the change appears in the mobile app instantly. When you sell a ticket, your analytics dashboard updates in real time, and your marketing tools can segment that buyer for targeted follow-up emails. When you clone last year's event to start this year's, you carry forward all the institutional knowledge embedded in your data -- not just a folder of stale spreadsheets.
The organizers who get the most out of Confanum are the ones who commit to using it as their central hub rather than as one more tool alongside the spreadsheets. Import your data, invite your team, and let the platform do what it was built to do: keep everything connected so you can focus on building a great event.
Every convention, festival, and expo starts with that first login. Yours is waiting.
Ready to get started?
Schedule a demo and we will walk you through setting up your first event on Confanum -- from organization creation to launch-ready in a single session.
Schedule a DemoThe First-Time Convention Organizer's Complete Checklist
A comprehensive planning guide covering venue selection, guest booking, vendors, volunteers, ticketing, marketing, and day-of operations.
How a Mobile App Transforms Attendee Engagement at Events
Why a dedicated event app is no longer optional for conventions of any size.
Reserved Seating for Events: A Complete Setup Guide
When to use reserved seating, how to set it up, and common mistakes to avoid.